
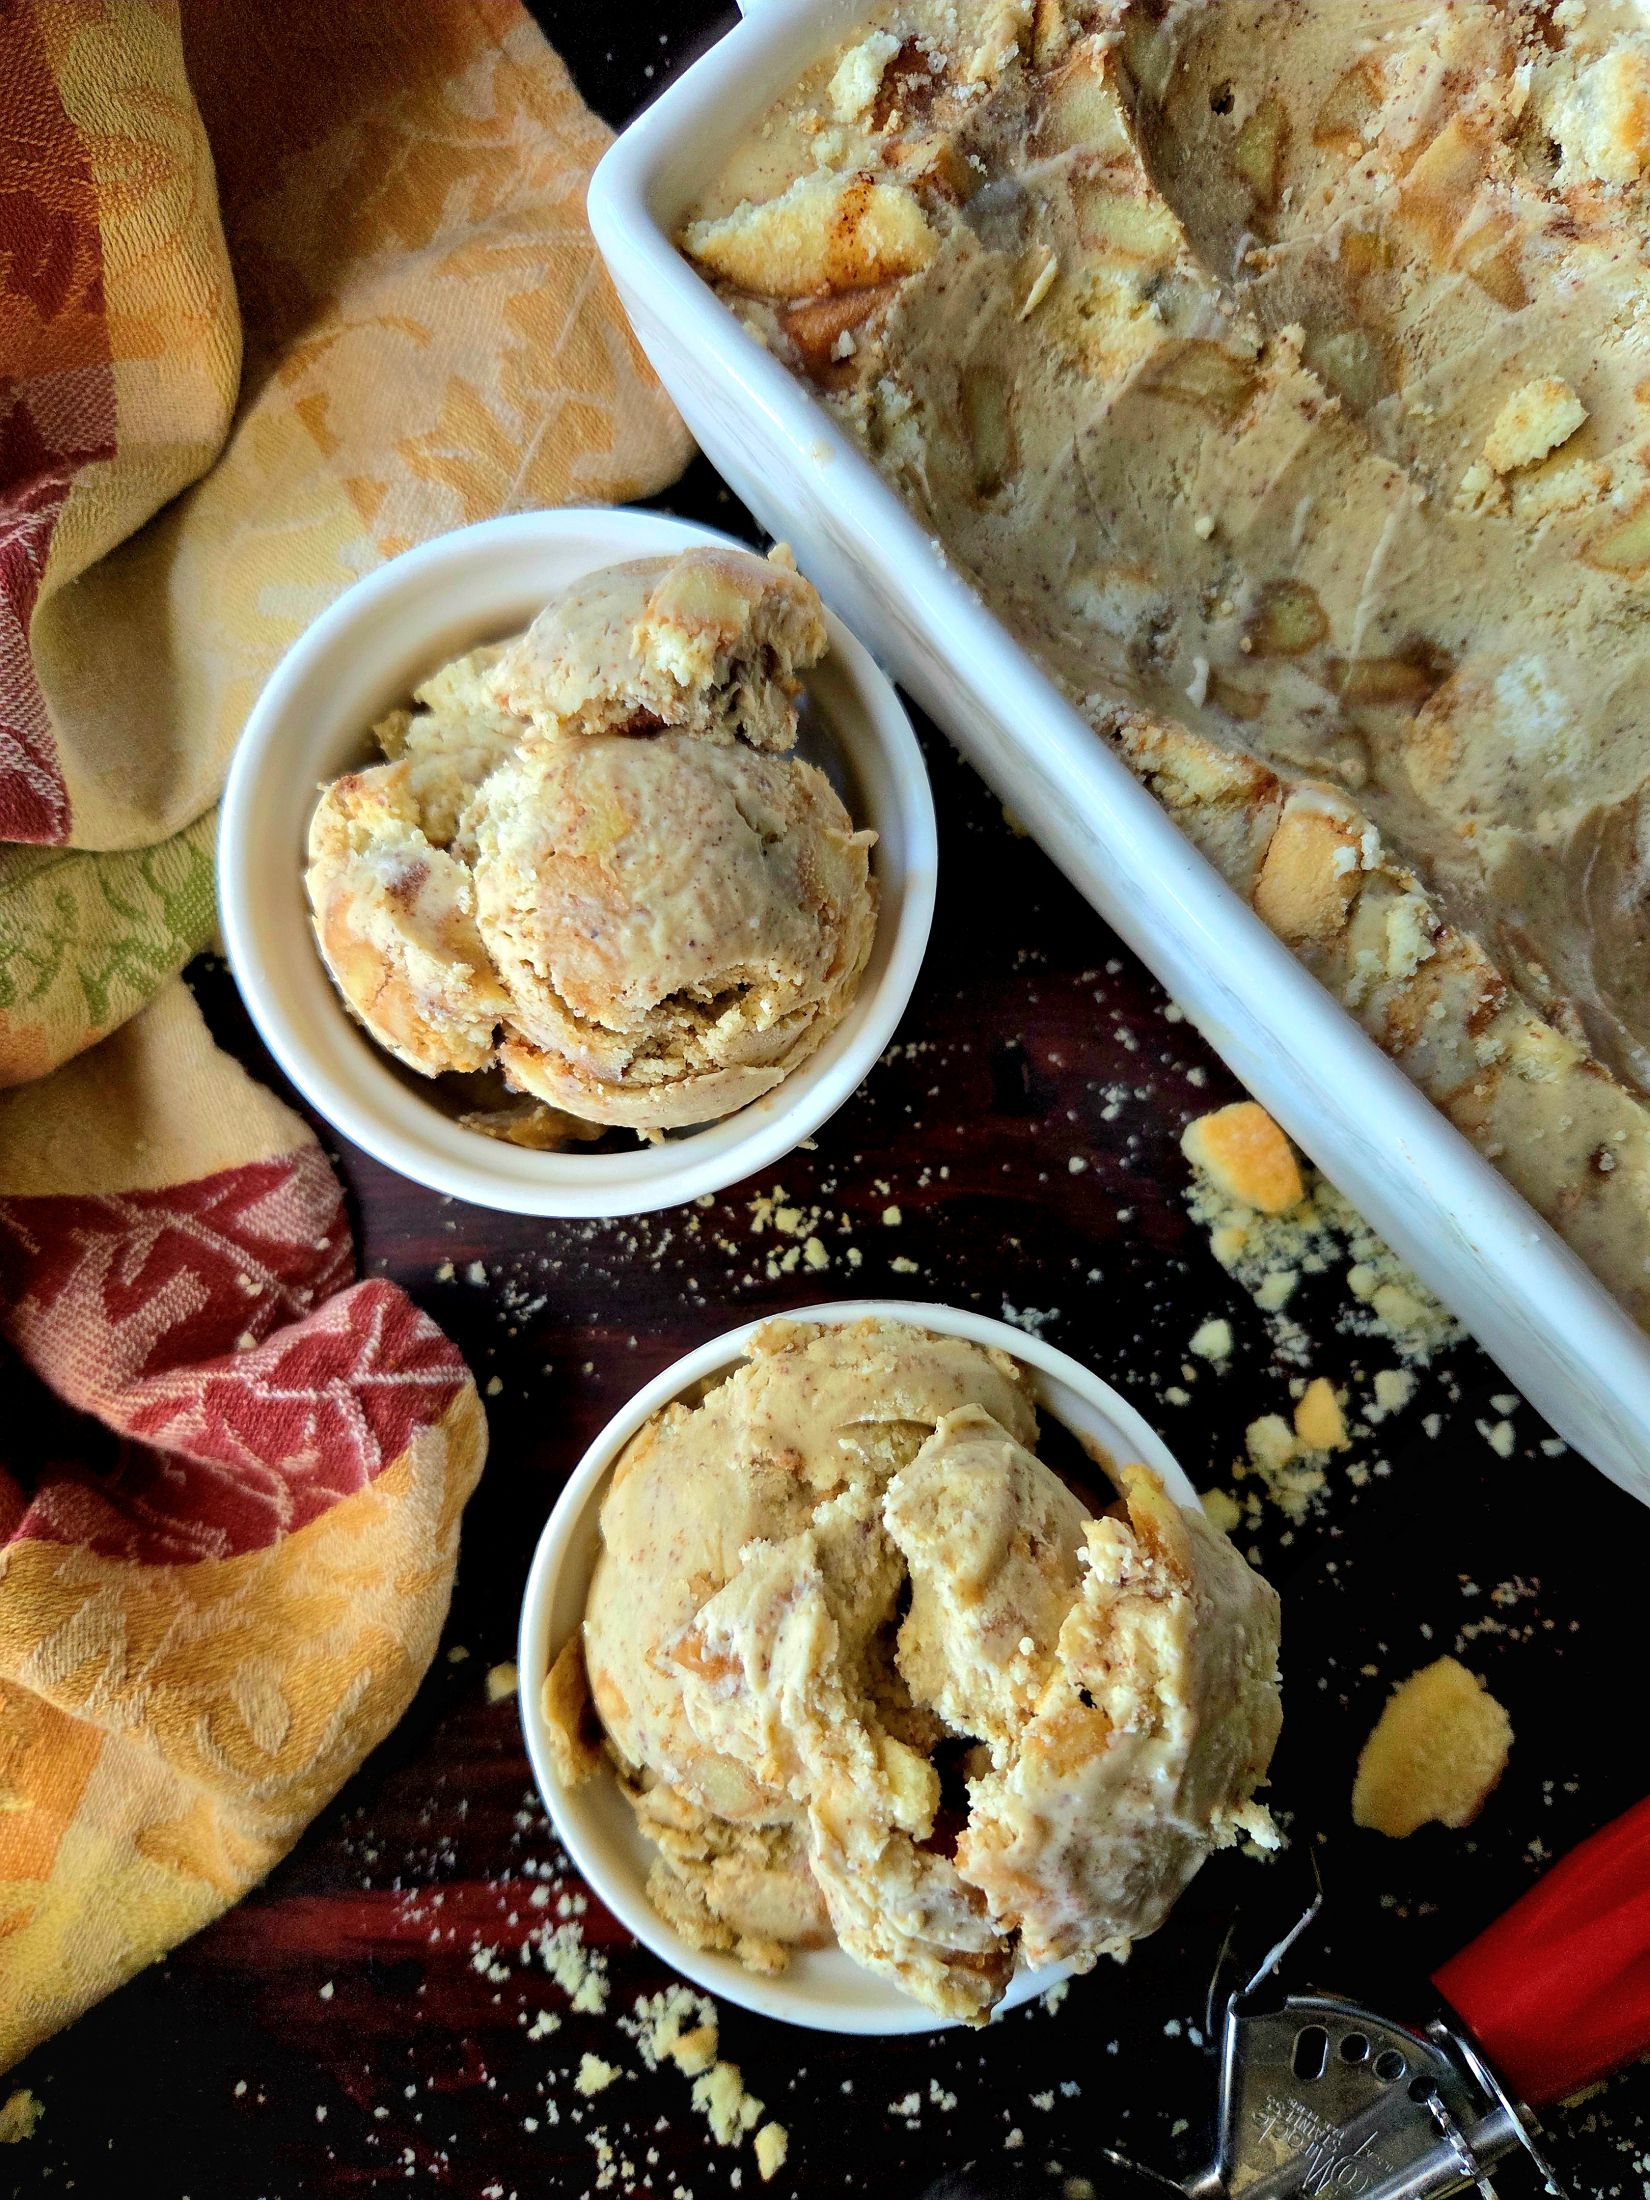
Fall isn’t too cold for ice cream… as long as it’s Apple Pie Ice Cream.
If you love the taste of freshly baked apple pie, you are going to love this fall-flavored frozen treat.

Why is Apple Pie Ice Cream the book-inspired recipe for The Neighborhood Dames?
Apples play a huge part in The Neighborhood Dames. Main character Violet’s life revolves around apples. Her father manages an apple orchard and makes delicious apple cider — while also making some illegal, but very in-demand apple jack on the side.
Violet and her dad also have a tradition of making ice cream together on Sundays. They experimented with different flavors after they tired of the usual vanilla, and one of the flavors they tried was cinnamon.

When her dad dies, Violet inherits the family business. Soon after, she finds a freshly baked apple pie on her doorstep, courtesy of The Neighborhood Dames.
Apple Pie Ice Cream checks every single box for this book-inspired recipe.
What I love about Apple Pie Ice Cream
Tartlets, I think Apple Pie Ice Cream is my favorite homemade ice cream I’ve made yet.
Let’s talk about the ice cream base – aka, the creamy part. It’s infused with ground cinnamon and vanilla extract, and it’s divine. It tastes just like a cinnamon roll.

It’s so damn good on its own that you don’t even need to add any apple pie mix-ins if you don’t want to.
Of course, it’s even better when you do. The homemade apple pie filling and the crumbled shortbread cookies kick the entire dessert up a notch. This is honestly the best Apple Pie Ice Cream I’ve ever tasted.
How do we get ice cream to taste like apple pie?
Yes, you could crumble up a premade apple pie and mix the pieces into the ice cream batter. I’m sure that would be really tasty. Especially if you’re using, like, Grandma’s homemade pie and not some mass-produced grocery store version.
If you want to get a little creative, though, stick with me and whip up the cooked apple filling. It takes only about 20 minutes to cook, you can make it ahead of time, and it will make your house smell delicious.

The chopped apples are rendered down until they’re gooey and sticky and bursting with sugar and fall spices.
Swirling the filling into the cinnamon vanilla base gives your ice cream that homemade apple pie taste without all the fuss of actually baking a pie.
Since you were so diligent in making the filling from scratch, go ahead and buy cookies instead of making them yourself for the mix-in.
I just don’t see the point of baking homemade cookies, only to crumble them up to put into something else. So, I bought cookies from the store and used those instead.

Shortbread cookies (like Lorna Doone’s or Walker’s) are great for Apple Pie Ice Cream because their buttery texture mimics a buttery pie crust. However, crumbled sugar cookies (or even snickerdoodles!) would work well, too.
When you get the apple filling, the crumbled cookies, and the creamy ice cream all in one bite, it’s like you’re eating a slice of pie a la mode.

What do you serve with Apple Pie Ice Cream?
Enjoy an autumnal feast of Apple Butternut Squash Soup, followed by Apple Cider Beef Stew with homemade Honey Challah Bread before scooping up some Apple Pie Ice Cream for dessert.
If you can’t get enough of all things apple spice, try Apple Crumble Galette, Apple Raisin Crumble, Apple Spice Snack Cake, Apple Almond Tart, and Apple Butter Crumble Bars.

Apple Pie Ice Cream
Ingredients
INGREDIENTS FOR MAKING THE ICE CREAM BASE (Recommended: Day 1)**
- 5 egg yolks
- ¾ cup granulated sugar DIVIDED
- 1 cup 2% or whole milk
- 1¾ cup heavy cream
- ¼ tsp kosher salt
- 2 tsp ground cinnamon
- 2 tsp pure vanilla extract
INGREDIENTS FOR CHURNING THE ICE CREAM (Recommended: Day 2)
- ½ cup crushed shortbread or sugar cookies
- Apple pie filling see below
INGREDIENTS FOR APPLE PIE FILLING (Recommended: Day 2)
- 2 cups peeled cored, and diced apples (2-3 large apples)
- ¼ cup light brown sugar packed
- 1 tbsp unsalted butter
- 1 tsp ground cinnamon
- ¼ tsp ground nutmeg
- 1/8 tsp ground cloves
- Pinch of ground ginger
Instructions
PREP INSTRUCTIONS – MAKING THE ICE CREAM BASE (Recommended: Day 1)
- Place your ice cream freezer bowl into the freezer for tomorrow.
- Fill a large bowl halfway with the ice cubes and cold water. Set aside.
- Gather all the Equipment you’ll need (see above) so they’re within arm’s reach while you’re cooking.
COOKING INSTRUCTIONS – MAKING THE ICE CREAM BASE (Recommended: Day 1)
- In the mixing bowl, whisk together the eggs yolks and 6 tbsp of the granulated sugar until thick, about 30 seconds. Set aside.
- In the saucepan, whisk together the remaining 6 tbsp sugar, milk, cream, and salt.
- Place the saucepan over medium-high heat and warm the mixture until it’s just starting to simmer; this means tiny bubbles should just start appearing around the edges of the saucepan. The mixture will de-thicken right before it begins to simmer. This should take about 10 minutes.
- Remove the saucepan from the heat and place on a potholder next to your mixing bowl.
- Carefully ladle a little hot liquid from the saucepan into the mixing bowl, whisking the egg yolks the entire time. Repeat this process with a few more ladle-fuls of hot liquid, then slowly stream the remaining hot liquid into the egg yolks, whisking the entire time to prevent the egg yolks from curdling.
- Pour the combined mixture – the ice cream base – from the bowl back into the warm saucepan, once again whisking the entire time. Whisk in the ground cinnamon and vanilla extract.
- Return the saucepan to the stove on medium heat. Heat the mixture, stirring continuously with a rubber spatula, until the mixture thickens and thickly coats the back of the spatula, about 10 minutes. When the base is ready, you should be able to create a clear trail when you run your finger on the back of the spatula.
- Place the strainer over the empty mixing bowl you used earlier. Carefully strain the base into the mixing bowl to catch any pieces that might have curdled while cooking. Discard whatever the strainer catches.
- Place the bowl with the ice cream base into the ice water bath, making sure that no water leaks into the bowl.
- Stir ice cream base occasionally until it’s cooled, about 40 minutes.
- Once the base is cool, cover it with plastic wrap and refrigerate for 12-24 hours.
COOKING INSTRUCTIONS – MAKING THE APPLE PIEFILLING (Recommended: Day 1)
- Peel, core, and dice your apples. Set aside.
- Place a large skillet over medium heat. Melt the butter in the skillet, then stir in the diced apples, brown sugar, cinnamon, nutmeg, cloves, and ginger.
- Cook the spiced apples, stirring regularly, until the apples are tender and syrupy, about 15 minutes. Remove from the spiced apples from the heat. Let cool completely before adding to ice cream, or store in the fridge overnight.
PREP INSTRUCTIONS – CHURNING THE ICE CREAM (Recommended: Day 2)=
- Place your ice cream machine on your work surface. Place the frozen churner bowl and paddle into the machine and turn the machine on according to manufacturer’s instructions.
- Pop your freezer-safe storage container into the freezer to chill.
CHURNING INSTRUCTIONS (Recommended: Day 2)
- Remove the chilled ice cream base from the refrigerator. Pour the base into the freezer bowl of your ice cream maker and churn according to manufacturer’s instructions.
- Once ice cream is done churning: pour about 1/3 of the ice cream into your storage container. Add about 1/3 of the apple pie filling, and then sprinkle 1/3 of the crumbled cookies on top. Repeat layering process twice more with remaining ingredients. Freeze until Apple Pie Ice Cream is solid, at least 4 hours, though best overnight.


