
I’ve been making test batches of Birthday Cake Ice Cream for the past week.
I’m not sad about it. Neither is my D&D group, who selflessly threw themselves on the grenade of taste-testing the recipes I churned out. (Churned out. Get it??)
It took a few tries, but I finally have a deliciously celebratory cake batter-esque homemade ice cream to share with you today, Tartlets.

Why is Birthday Cake Ice Cream the book-inspired recipe for 16 Forever?
Main characters Maggie and Carter in 16 Forever meet and work in an ice cream shop, so making ice cream for this book-inspired recipe was pretty much a no-brainer.

And, I decided to make this Birthday Cake Ice Cream because Carter “resets” every time his birthday rolls around.
You could also call this Funfetti Cake Ice Cream, Confetti Cake Ice Cream, or Cake Batter Ice Cream. Whatever floats your boat.
Why I love Birthday Cake Ice Cream
I’m that weird person who prefers vanilla over chocolate. You probably know only a few of these people, and you probably make fun of them when they’re out of earshot. It’s okay. We get it.

But if you ask me, nothing beats a good vanilla dessert. Which is why I love this ice cream.
It has all-natural vanilla extract and imitation vanilla extract. There’s also a bit of almond extract in there, too, since that helps bring out that classic cake-like flavor.
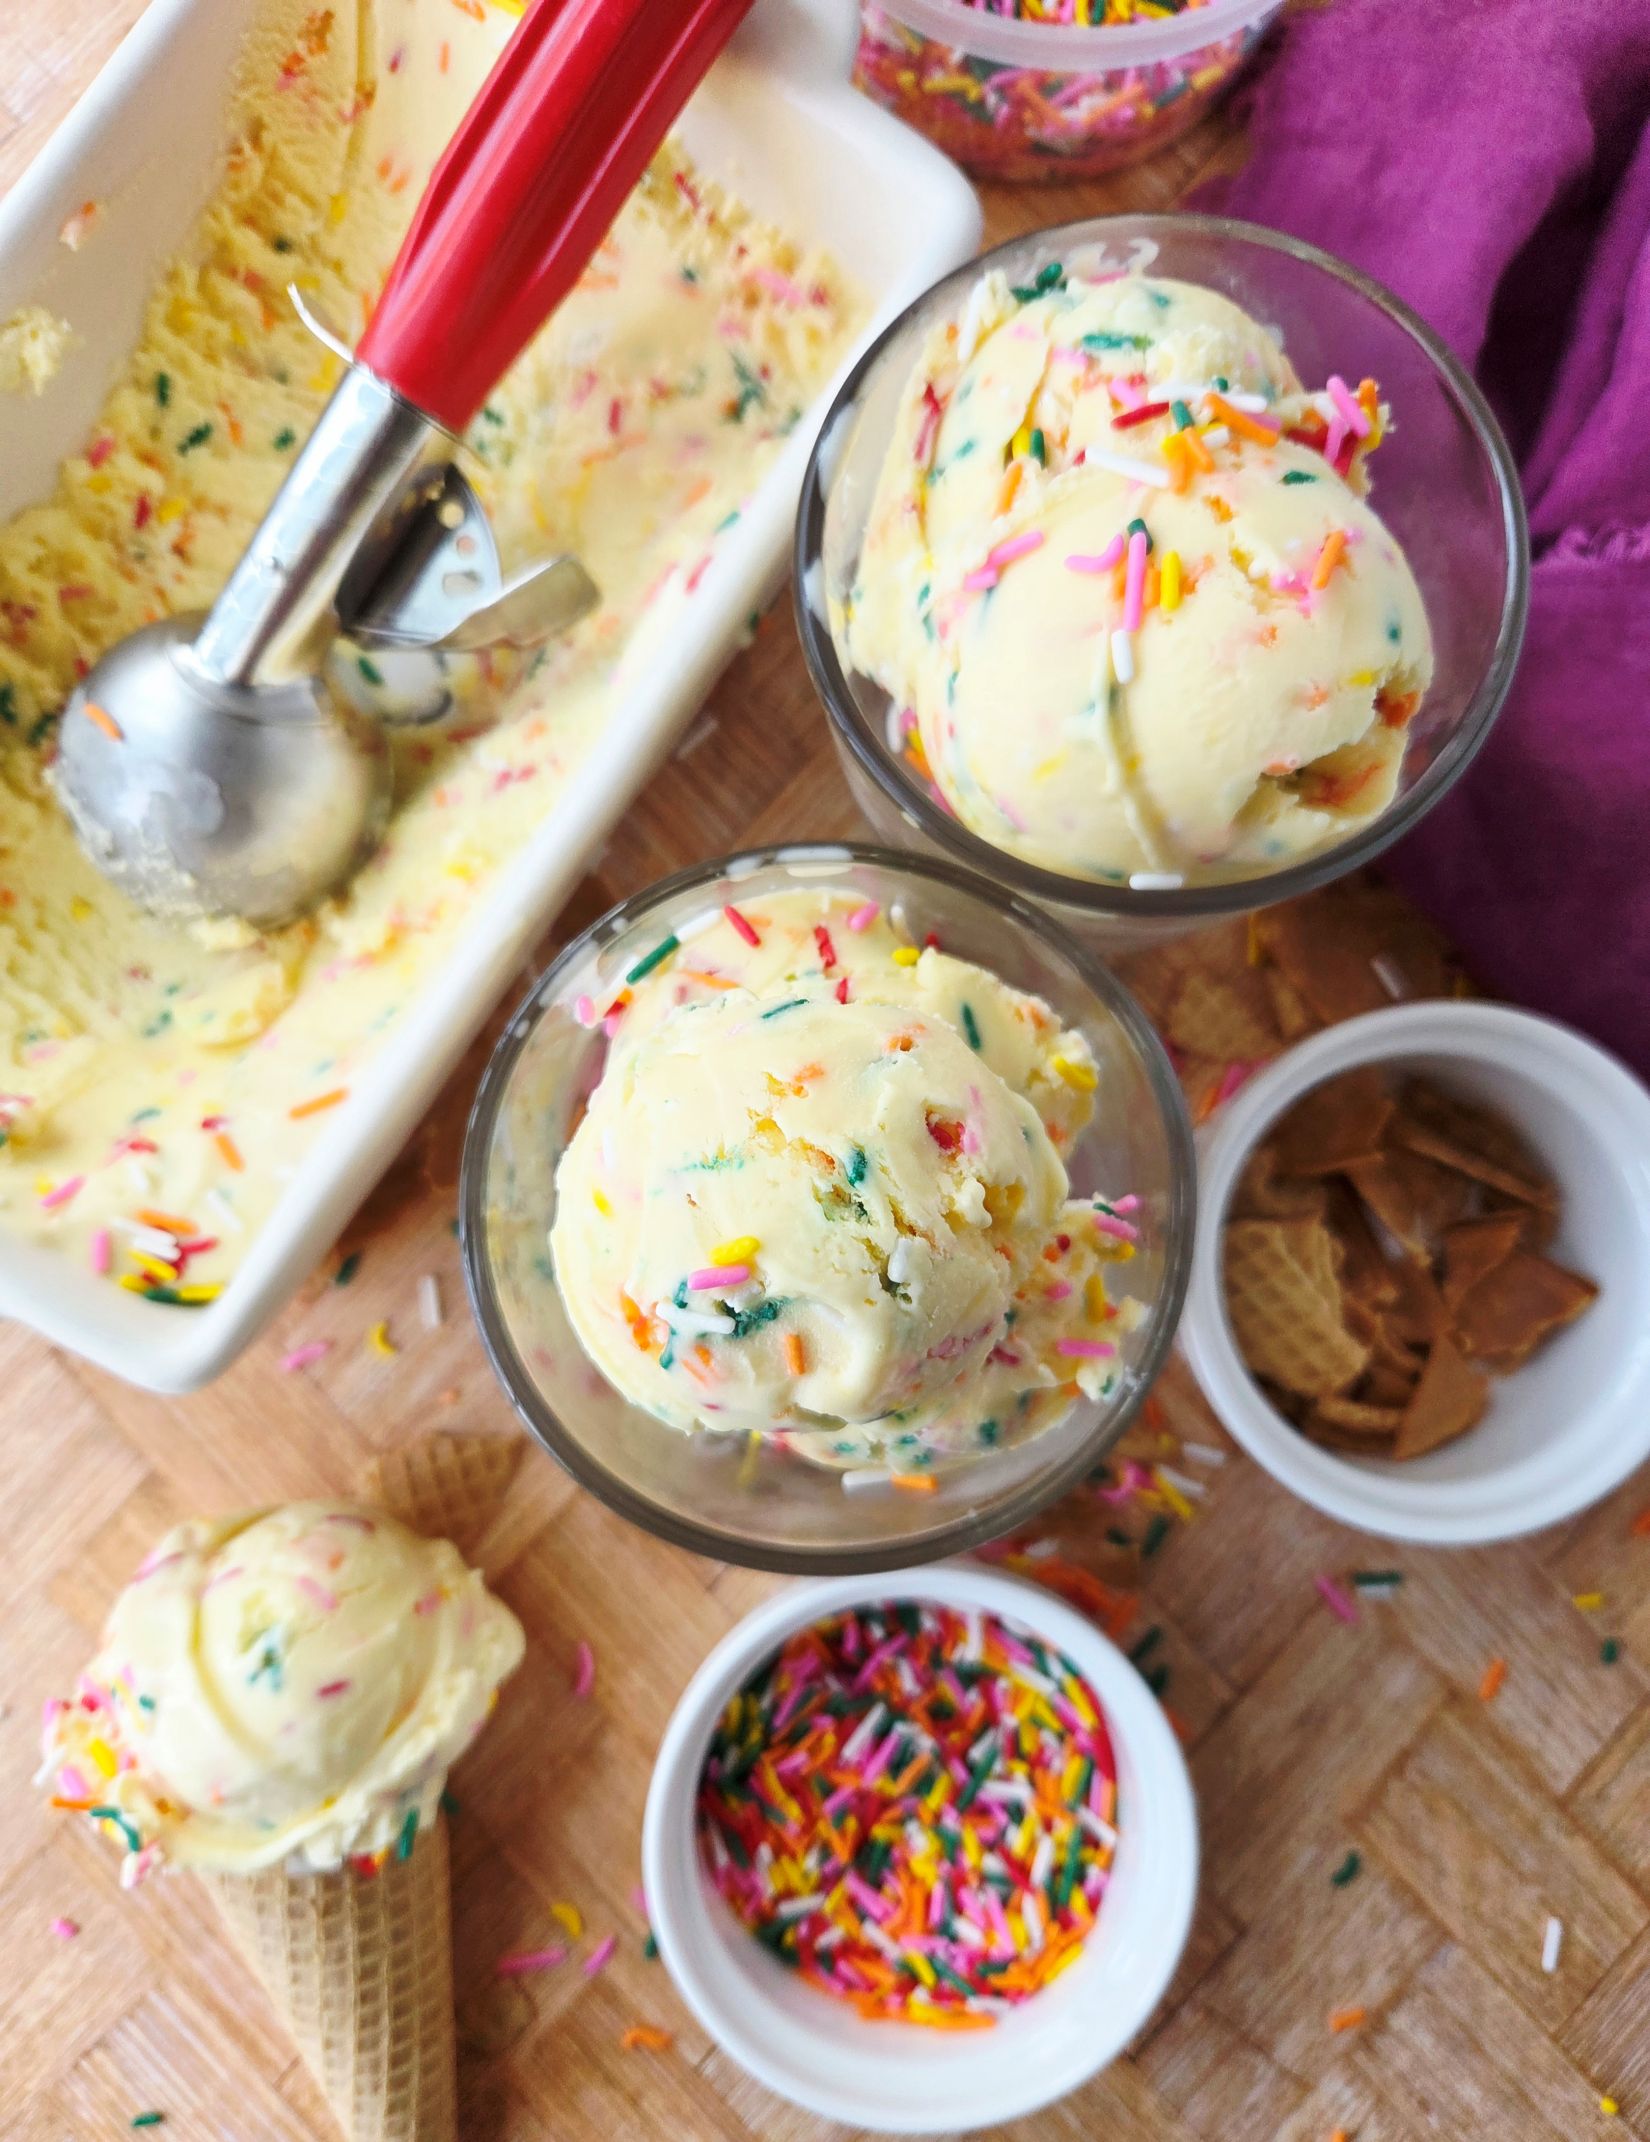
Birthday Cake Ice Cream tastes like a really good vanilla birthday cake. The sprinkles stirred into the ice cream make it fun and festive and colorful. I could eat bowls of this creamy, dreamy dessert and not tire of it.

No cake mix was harmed in the making of this ice cream
A lot of recipes call for packaged cake mix to make their cake batter ice cream base. While I do have a nostalgic fondness for Betty Crocker or Duncan Hines mixes, I really didn’t want to use any of them in my ice cream.

I love cooking and baking with as many natural ingredients as possible, and I try really hard to avoid ultra-processed foods after reading Ultra-Processed People.
But, here’s the rub – the key to that signature “cake batter” or “birthday cake” flavor that you get in ice cream shops? It’s an ultra-processed food. Namely, packaged cake mix.
I’m already throwing in rainbow sprinkles and imitation vanilla extract, people. #ThatsEnough. I didn’t want to add more chemicals and preservatives into the mix.

Birthday Cake Ice Cream is made with several different extracts to achieve a similar cake flavor without using that packaged cake mix. Admittedly, it’s not a spot-on replica. You’re not going to get a “fake” taste from real ingredients.
But you are going to get a dang tasty ice cream.

Do I need an ice cream machine to make Birthday Cake Ice Cream?
Yes, you do need an ice cream maker in order to make Birthday Cake Ice Cream. I know that no-churn recipes and Ninja Creami recipes are all the rage right now.
However, I prefer ice cream made the “old-fashioned way”. There’s a cooked custard base made with very few ingredients: egg yolks, cream, milk, and sugar.

But don’t worry: making homemade ice cream is one of the easiest things to do. Just follow my detailed instructions below and you’ll be all set.
What do you serve with Birthday Cake Ice Cream?
A scoop of Birthday Cake Ice Cream is a great dessert on its own. You can add some homemade hot fudge, whipped cream, and a cherry – and more sprinkles! – for excessive celebration vibes.
This ice cream pairs deliciously with Pineapple Upside Down Cake, Man Catcher Cake, and Chocolate Cake with Whipped Ganache. A suggestion from Mr Tart: squish a scoop between two Monster Cookies for the ultimate peanut butter ice cream sandwich treat.

Want to hold an ice cream social this summer? Birthday Cake Ice Cream is a crowd-pleaser along with popular flavors like Mint Chocolate Chip Ice Cream and Chocolate Marshmallow Ice Cream, and more unique flavors like Peach Ice Cream and Citrus Breeze Ice Cream.

Birthday Cake Ice Cream
Equipment
- 1 fine mesh strainer
- 1 large heatproof mixing bowl (with a pouring spout, if possible)
- 1 large whisk
- 1 soup ladle
- 1 medium saucepan with handle
- 1 large bowl to fill with ice and water (the mixing bowl should be able to rest inside this bowl without being fully immersed in the water)
- 1 rubber spatula
- ice cubes
- ice cream machine with ice cream churning bowl
- 1 freezer-safe storage container that can hold 1 quart of ice cream
Ingredients
INGREDIENTS FOR MAKING THE ICE CREAM BASE (Recommended: Day 1)**
- 5 egg yolks
- ¾ cup granulated sugar DIVIDED
- 1 cup 2% or whole milk
- 1¾ cup heavy cream
- ¼ tsp kosher salt
INGREDIENTS FOR CHURNING THE ICE CREAM (Recommended: Day 2)
- 1 tbsp imitation vanilla extract
- 2 tsp pure vanilla extract
- ½ tsp almond extract
- ½ cup of rainbow sprinkles
Instructions
PREP INSTRUCTIONS – MAKING THE ICE CREAM BASE (Recommended: Day 1)
- Place your ice cream freezer bowl into the freezer for tomorrow.
- Fill a large bowl halfway with the ice cubes and cold water. Set aside.
- Gather all the Equipment you’ll need (see above) so they’re within arm’s reach while you’re cooking.
COOKING INSTRUCTIONS – MAKING THE ICE CREAM BASE (Recommended: Day 1)
- In the mixing bowl, whisk together the eggs yolks and 6 tbsp of the granulated sugar until thick, about 30 seconds. Set aside.
- In the saucepan, whisk together the remaining 6 tbsp sugar, milk, cream, and salt.
- Place the saucepan over medium-high heat and warm the mixture until it’s just starting to simmer; this means tiny bubbles should just start appearing around the edges of the saucepan. The mixture will de-thicken right before it begins to simmer. This should take about 10 minutes.
- Remove the saucepan from the heat and place on a potholder next to your mixing bowl.
- Carefully ladle a little hot liquid from the saucepan into the mixing bowl, whisking the egg yolks the entire time. Repeat this process with a few more ladle-fuls of hot liquid, then slowly stream the remaining hot liquid into the egg yolks, whisking the entire time to prevent the egg yolks from curdling.
- Pour the combined mixture – the ice cream base – from the bowl back into the warm saucepan, once again whisking the entire time.
- Return the saucepan to the stove on medium heat. Heat the mixture, stirring continuously with a rubber spatula, until the mixture thickens and thickly coats the back of the spatula, about 10 minutes. When the base is ready, you should be able to create a clear trail when you run your finger on the back of the spatula.
- Place the strainer over the empty mixing bowl you used earlier. Carefully strain the base into the mixing bowl to catch any pieces that might have curdled while cooking. Discard whatever the strainer catches.
- Place the bowl with the ice cream base into the ice water bath, making sure that no water leaks into the bowl.
- Stir ice cream base occasionally until it’s cooled, about 40 minutes.
- Once the base is cool, cover it with plastic wrap and refrigerate for 12-24 hours.
PREP INSTRUCTIONS – CHURNING THE ICE CREAM (Recommended: Day 2)
- Place your ice cream machine on your work surface. Place the frozen churner bowl and paddle into the machine and turn the machine on according to manufacturer’s instructions.
- Pop your freezer-safe storage container into the freezer to chill.
- Measure out ½ cup of rainbow sprinkles. Set aside.
CHURNING INSTRUCTIONS (Recommended: Day 2)
- Remove the chilled ice cream base from the refrigerator. Uncover and whisk in the vanilla and almond extracts.
- Pour the chilled ice cream base into the freezer bowl of your ice cream maker and churn according to manufacturer’s instructions.
- When ice cream is almost finished churning, gradually add the sprinkles to the ice cream base while the ice cream maker is still going. Be sure to pause at regular intervals to make sure the sprinkles are interspersed evenly throughout the ice cream.
- Once ice cream is done churning, use a spatula to guide ice cream into the freezer-safe storage container. Freeze until Birthday Cake Ice Cream is solid, at least 4 hours, though best overnight.


